If you’ve ever run out of hot water mid-shower or struggled to keep your family warm, a tankless water heater could be the solution you’ve been looking for.
Traditional tank water heaters only provide hot water from a fixed storage tank, which means you’ll eventually run out during high-use times. But with a tankless water heater, hot water flows constantly and never runs out, so you can shower, do laundry, and more all at the same time without issues.
Making the switch seems straightforward on paper, but it should always be handled by a professional for safety reasons and to ensure it’s done properly. Nevertheless, let’s walk through the entire process of successfully installing a tankless water heater in your home, from start to finish.
Turn off the power and the water supply
Before beginning the installation of your tankless water heater, it’s crucial to ensure that both the power and water supply are completely turned off. This is an essential step for ensuring safety and preventing any accidental water damage or electrical shocks during the installation process.
To turn off the power, simply flip the circuit breaker that controls your water heater. For the water supply, shut off the valve located on the cold water line leading into your existing water heater.
Drain and disconnect the old unit
Once you have safely turned off both the power and the water supply, the next step is to drain and disconnect your old water heater.
Begin by attaching a hose to the drain valve located at the bottom of the tank. Direct the other end of the hose to a drain or an outside area where the water can safely be discharged. Open the drain valve, allowing the tank to completely empty. This process might take some time, depending on the size of your tank.
After the old tank is fully drained, you’ll need to disconnect it from the water supply lines and the power source. For a gas water heater, ensure the gas is turned off before disconnecting the gas line. In the case of an electric water heater, double-check that the power is completely shut off at the breaker before disconnecting any electrical lines.
Take off the new unit’s front cover
Taking off the front cover of your new tankless water heater is a necessary step to access the internal components for installation. Most models will have screws around the perimeter of the cover, which can be removed using a screwdriver.
Once the screws are removed, gently lift the cover away from the unit. Be sure to place the cover in a safe location to avoid any damage. This step provides access to the mounting brackets, electrical connections, and water inlets and outlets, which are crucial for the next steps of the installation process.
Remember to handle the cover and all parts of the water heater with care to prevent any unintentional damage.
Mount the new unit
After preparing the new tankless water heater by removing the front cover, the next step is to mount the unit in its designated location. It’s important to select a location that not only supports the weight of the unit but also complies with any installation codes and requirements specific to your area.
Most tankless water heaters come with a mounting template that simplifies this process. Hold the template against the wall where the unit will be installed, and use a level to ensure it is perfectly horizontal. Mark the positions for the mounting screws according to the template, then drill holes into the wall at these marked spots.
Once the holes are prepared, align the water heater with the holes and secure it to the wall using the provided mounting screws. Ensure the unit is mounted firmly to avoid any movement, which could damage the water connections or electrical wiring.
With the unit securely mounted, you can proceed to the next steps, which involve making the necessary water and electrical connections to get your tankless water heater fully operational.
Join the pipes
After the unit is securely mounted, the next phase involves connecting it to the water supply. Begin by identifying the cold water inlet and hot water outlet on your tankless water heater. These are usually clearly marked on the unit.
Using high-quality pipes and fittings is crucial for a reliable installation. Copper or stainless steel flex pipes are often recommended for their durability and ease of installation.
Install pressure and flow valves
It’s essential to install both pressure relief and flow control valves on your tankless water heater. These valves are critical for ensuring the system operates safely and efficiently.
First, install the pressure relief valve. This safety device protects the water heater from pressure build-up that could cause damage or even burst the unit. Attach the valve to the designated spot on your water heater, typically near the cold water inlet. Follow the manufacturer’s instructions for proper installation to ensure a secure fit.
Next, install a flow control valve. This valve regulates the flow of water through the tankless water heater, ensuring optimal performance and preventing overloading of the system. Like the pressure relief valve, the flow control valve should be installed according to the manufacturer’s instructions and attached to the appropriate inlet or outlet.
Both valves are crucial for maintaining the longevity and efficiency of your tankless water heater, and their proper installation is key to a successful setup.
Bleed the system
Before you set the hot water system into action, it’s crucial to conduct a bleed-out procedure. This involves activating every hot water outlet throughout your living quarters to eliminate any trapped air within the system. Allow these outlets to remain open for a brief period. After this, your system bleeding should be effectively finished.
Check all connections and reattach the cover
After completing the bleed process, it’s essential to meticulously check all water and electrical connections for leaks or wiring issues.
Ensure that all fittings are tight and secured properly to prevent any potential leaks. Electrical connections should be double-checked to ensure they are correctly made and fully secure. This step is crucial to prevent water damage and ensure the safety and efficiency of your tankless water heater.
Once you are confident that all connections are secure and there are no leaks, you can proceed to reattach the front cover of the unit. Carefully align the cover with the unit and replace the screws that were previously removed. Tighten the screws adequately to secure the cover, but be careful not to overtighten and damage the cover or unit housing.
Turn the power back on
Now, with the cover securely in place, you can restore power and water to the unit. Turn on the water supply to the water heater and then switch the circuit breaker back on to power the unit.
Test the unit
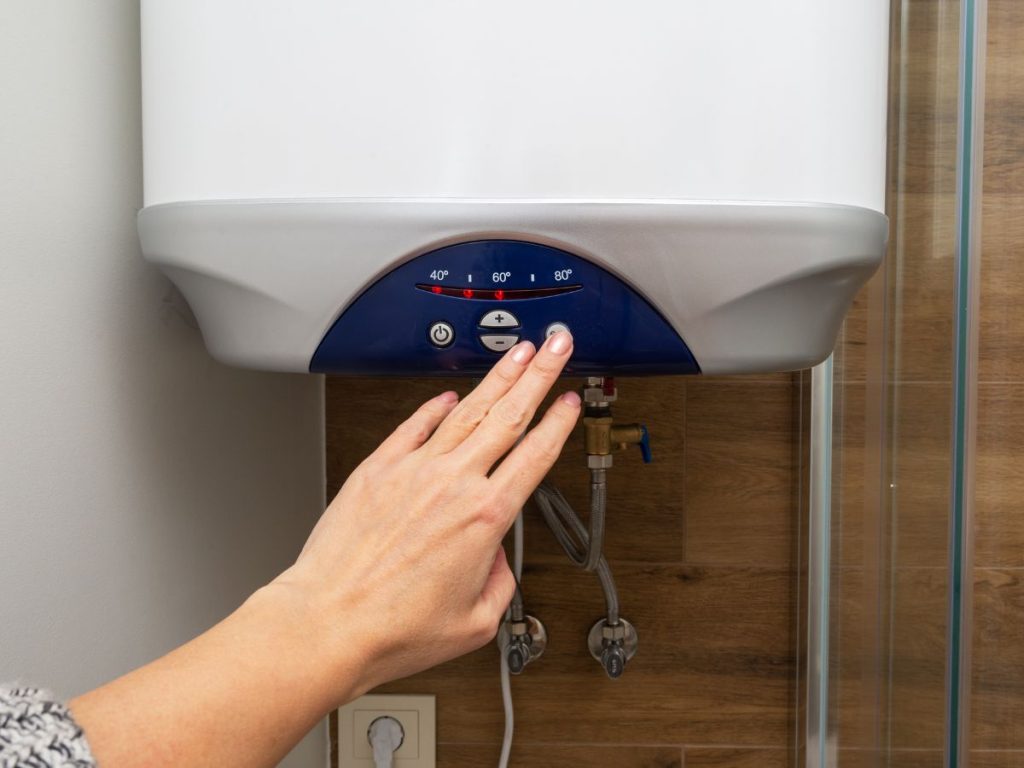
Testing your newly installed tankless water heater is the final step to ensure everything is running smoothly and efficiently. Begin by setting the thermostat to your preferred water temperature, then turn on a hot water faucet in your home and allow it to run for a few minutes. This initial test will help identify any issues with temperature settings or flow rates.
Monitor the water heater’s performance, looking for consistent hot water output and listening for any unusual noises that could indicate a problem. Adjust the thermostat as needed to achieve your desired water temperature. If you encounter any issues during this testing phase, refer to the manufacturer’s troubleshooting guide or contact a professional for assistance.
Successfully testing your tankless water heater marks the culmination of the installation process, offering you on-demand hot water with improved efficiency and space savings.
Remember to keep up with maintenance to ensure your unit remains useful for years to come. This may involve flushing your water heater and having a professional check your unit on a yearly basis.
Looking for tankless water heater installation? Choose Plumb-Tech
Choosing the right plumber to replace your hot water heater is crucial to ensuring your system operates efficiently and safely.
At Plumb-Tech, we leverage years of expertise and cutting-edge technology to provide top-tier installation services. Our certified technicians are adept at handling all aspects of tankless water heater installation, from initial consultation to final testing, ensuring a seamless and hassle-free process.
Plumb-Tech is the best choice, as we ensure you not only get reliable installation but also peace of mind knowing that the water heating system in your house is in expert hands.
We’ve been in business and have been serving customers in Missoula, Montana and surrounding areas for over 15 years. No matter the plumbing issue, whether it’s new installation or maintenance, we guarantee customer satisfaction. It’s quality without the exorbitant cost.
Contact us today to schedule your installation and enjoy endless hot water with unmatched efficiency—we’re only one telephone call or website form fill away!